Ankle Sprains & Rehab For Hikers
Even the most experienced hikers have likely had to deal with ankle sprains and rehab at some point. Ankle sprains may be common for hikers but do you know some easy rehab options? A badly sprained ankle can derail your hiking plans for about a month to a month and a half. Let’s take a quick look at how you can build stronger ankles for hiking.
Ever Sprain Your Ankle?
It’s been reported in surveys that around 23% hikers suffered from a sprained ankle during their hike. Inversion sprains occur when the bottom of the foot rolls inward thereby straining a key ligament in the ankle. There are 4 grades to sprains ranging from overstretched to detached.
Ankle Rehab Made Simple
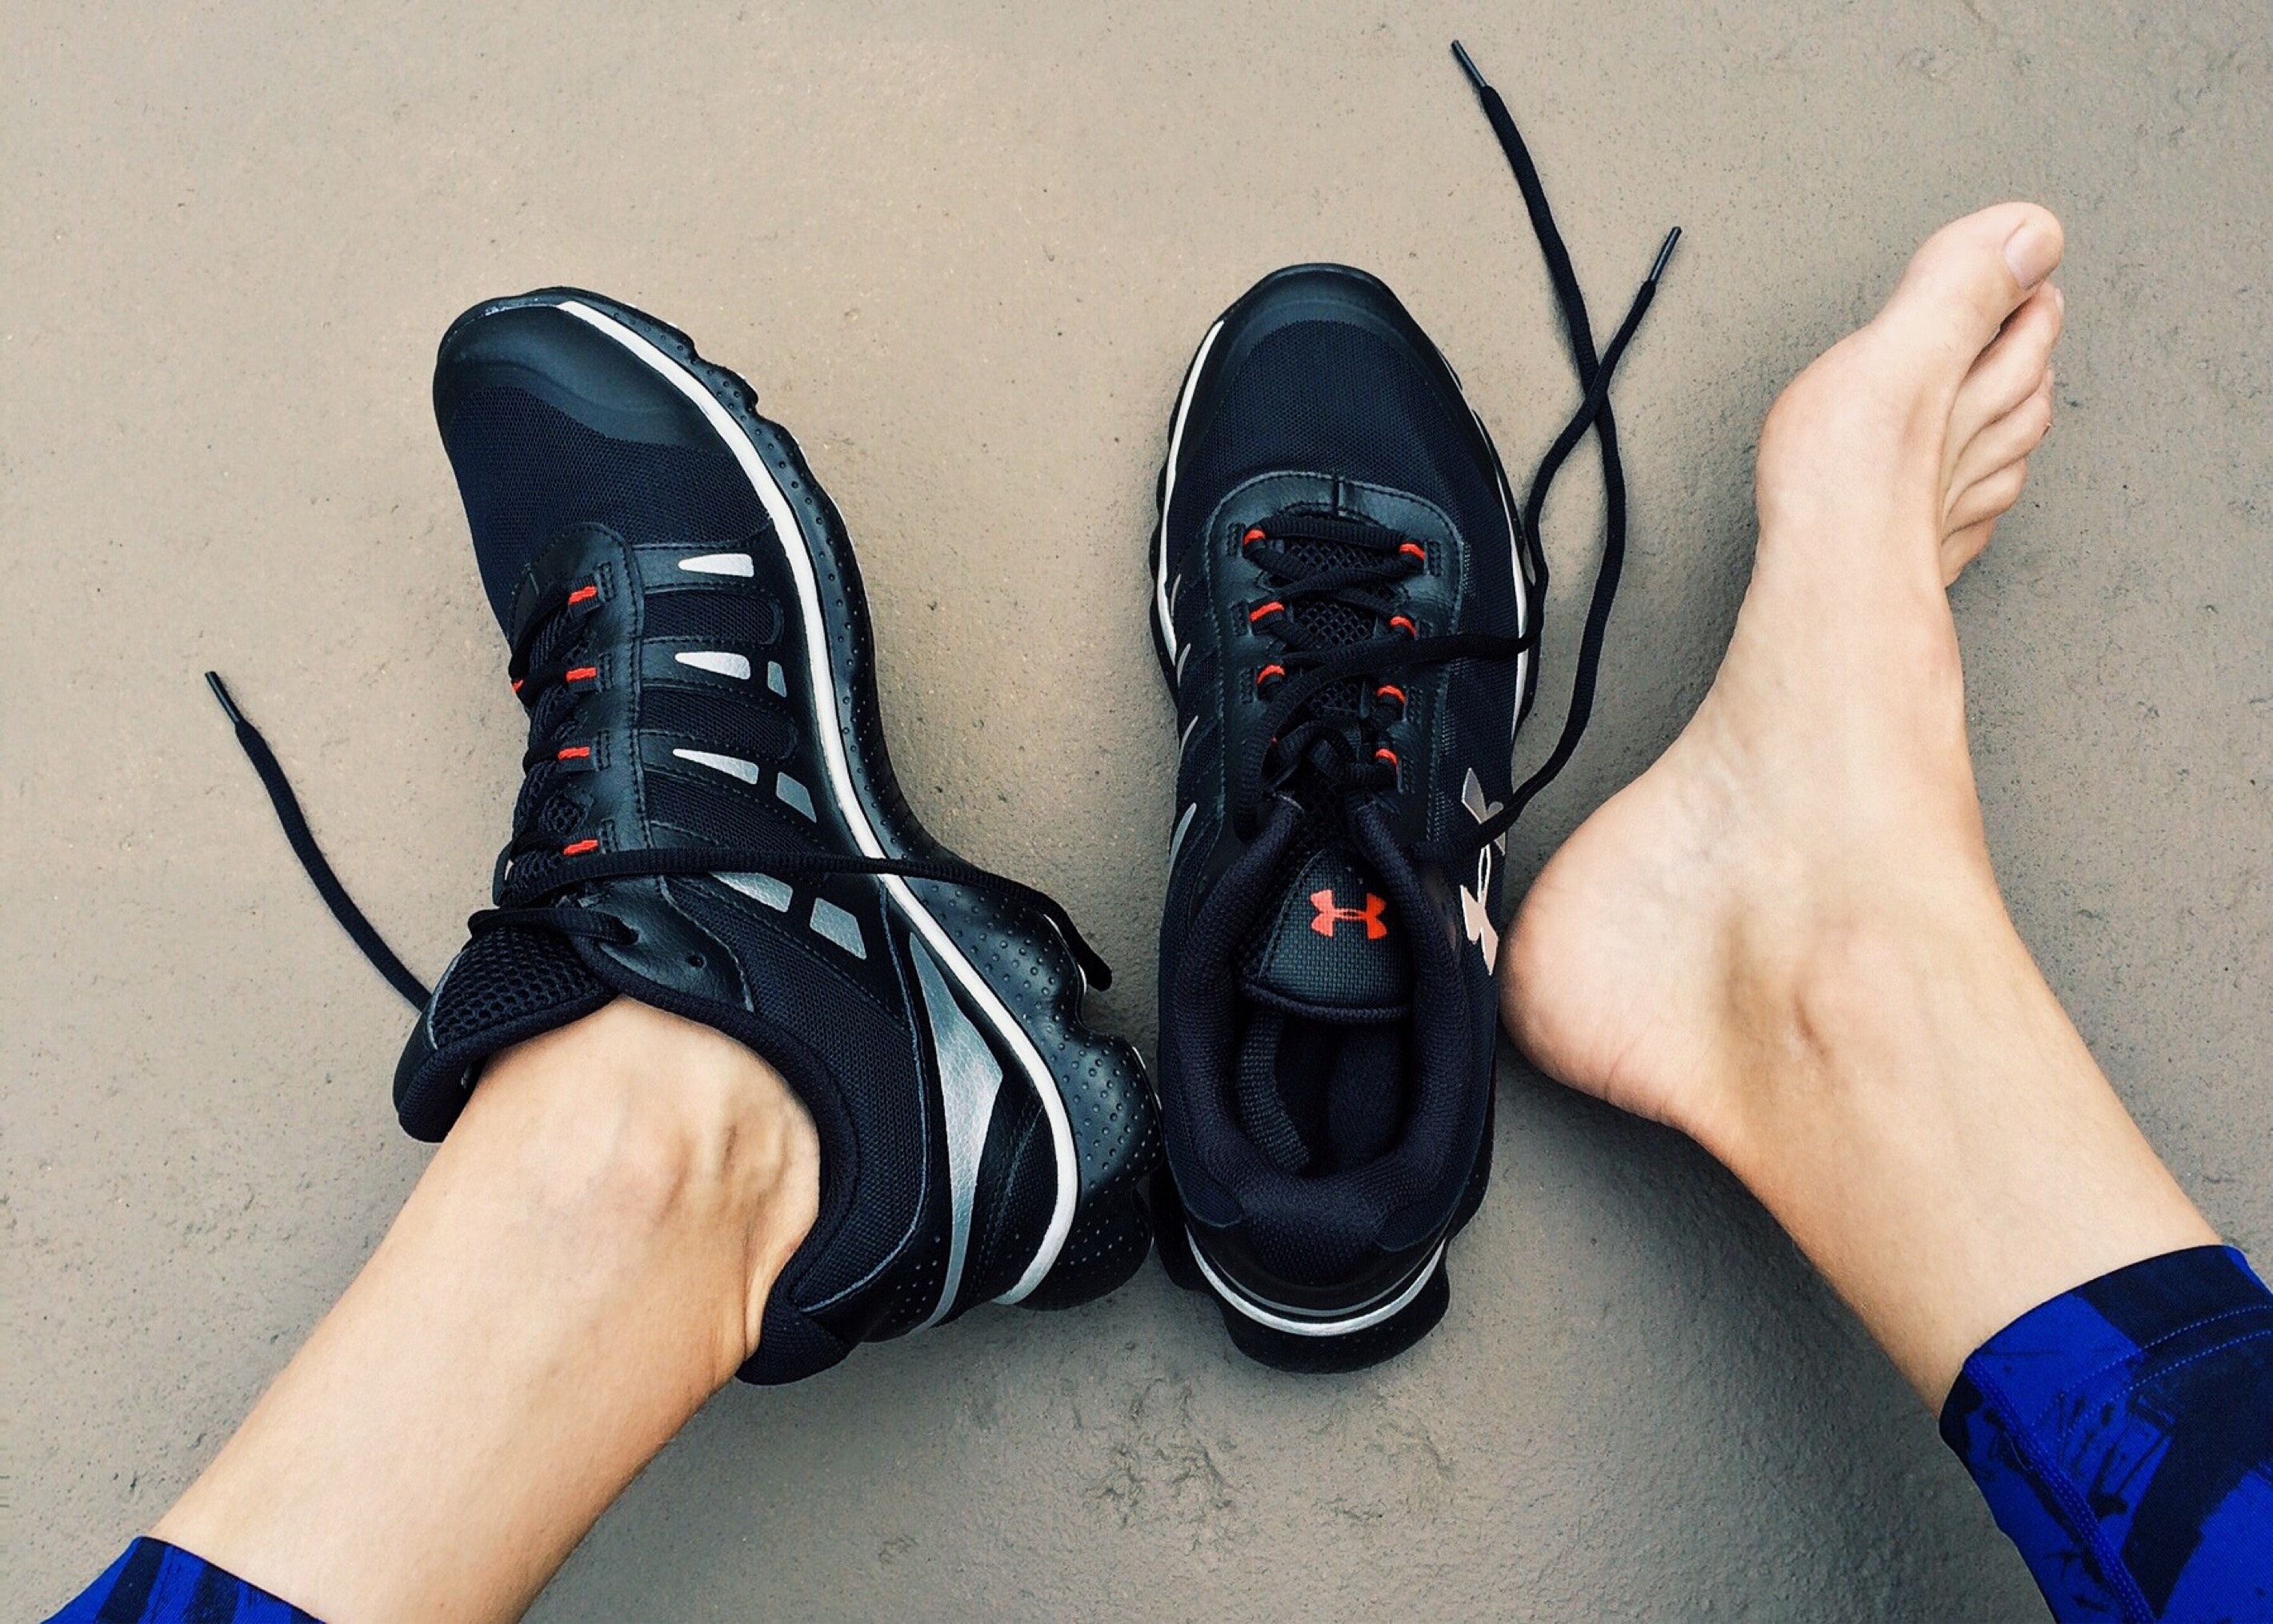 Regardless of the sprain level, your balance will be affected with a sprain. Your body uses several receptors in each joint to help it determine things like tension, stretch, compression and position in space. With an ankle sprain and subsequent swelling, the receptors are put on “mute” so to speak.
The ankle swells to limit use and further damage along with keeping the ankle in a neutral or safe position. Once the cells tasked with cleaning up the tear have done their work, the swelling subsides and the builder cells begin their task of restoration.
Restoring ankle motion, strength and balance are usually the ingredients to return you back to health. If you never re-train that lost balance and “turn back on” those receptors, your ankle is probably still a little wonky. You’ll need that balance for rock hopping and log crossings so let’s “unmute” those receptors.
Balance
Practice standing on one foot in a doorway or near a countertop (for safety), barefoot for as long as possible. Â Be strong and stable.
I do this while I’m brushing my teeth, doing dishes, standing in line at the grocery store, wherever. It will help restore the receptors that help with balance and strengthen the foot at the same time.
If you find this to be too easy, close your eyes; I promise it will be more difficult. If that becomes to easy for you, stand on a pillow, cushion or a Bosu ball, keeping your eyes open. Again, once more proficient, close your eyes.
Strength
These exercises aren’t complicated and can be done anywhere. Stand in front of a counter for support and raise your heels until you are standing on the balls of your feet. You should be about 50/50 on the right and left foot at the top. Now slowly lower back down – if there is no sharp pain continue and repeat for a total 20 times.
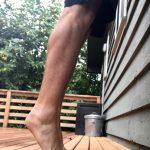
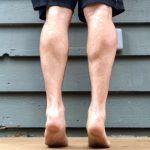
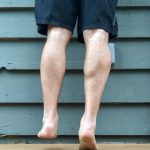
- Raise up with equal weight on each foot
- Slowly transfer weight to injured ankle (R in photo)
- Slowly lower down
Now at the top of the heel raise, transfer more weight to your sprained ankle before you lower down. If it’s your right ankle, transfer a little weight by shifting right and lower back dow. Â Continue working on transferring more weight until you can fully lower yourself on just the injured ankle for 4 sets of 20 reps.
Range Of Motion
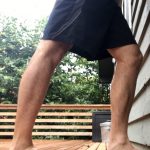
A traditional runners stretch works great here; it targets the calf muscles and ankle motion at the same time. Keep the rear foot flat on the floor, knee straight and move your hips toward the wall until you feel a gentle stretch in your calf muscle. Stretch 3 times for 20 seconds each time. Repeat 4-5 times throughout the day.
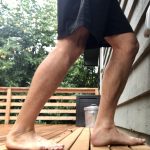
The second photo is targeting a deeper calf muscle, the Soleus. Position and motion are the same, you just have a bent knee. This stretch you might feel farther down the leg closer to the back of the ankle. Stretch 3 times for 20 seconds each time. Repeat 4-5 times throughout the day.
That should get the ball rolling on recovery for you! Be sure to check out the other blog post linked to see 10 great exercises to help hikers build strong ankles.


Recent Comments